Why You Should Build a Cheap DIY Cat Tree for Your Feline
Have you ever looked at one of those beautifully designed cat trees in a catalog and nearly choked on your coffee when you saw the price tag? Same here. One particular model I spotted was going for a jaw-dropping $799.95. That’s what finally pushed me to build my own — and it turns out, crafting a custom, natural-looking cat tree doesn’t have to cost a fortune. With a bit of creativity, some basic tools, and a weekend of work, you can create a one-of-a-kind cat tree your feline will love — for under $100.
This guide takes you through each step of the process in detail. Whether you’re an experienced DIY enthusiast or just starting out, you’ll find everything you need to create a durable, stylish, and affordable cat tree that complements your home décor perfectly.
Gathering Materials for Your Homemade Cat Tree
One of the best parts of this project? You can use a lot of materials you already have lying around. I repurposed branches from a dead tree in my yard and scavenged leftover wood and carpet from past DIY projects. That said, there were a few supplies I picked up from my local hardware and craft stores to finish the job — and if you’re short on anything, most of these items can easily be found online or on Amazon for convenience.
Here’s the full list of materials I used, along with rough prices (based on what I paid locally in Wyoming):
🪵 Wood & Structural Materials
- Tree branches – Free (salvaged from a dead tree)
- 1 or 2 – 1″x3″x8′ furring strips ($1.67 each)
- 1 – 2″x2″x6′ furring strip ($1.22)
- 4 – 1″x2″x8′ furring strips ($0.85 each)
- 1 – 1/4″ 4’x4′ birch plywood sheet ($15.58)
🔩 Fasteners & Adhesives
- 1 box – 1-5/8″ wood screws ($4.58)
- 1 box – 3-1/2″ screws ($8.75)
- 1 box – 1-3/8″ drywall screws ($4.58)
- Wood glue and wood filler
- Hot glue gun
- General-purpose non-toxic adhesive ($6.75)
- Hook-and-loop fasteners (optional – $9.99)
🧶 Finishing Touches
- Carpet remnants or outdated carpet samples (many stores give these away for free or a small fee)
- Bushy greenery or artificial tree leaves (3 bundles – approx. $10 each from a craft store)
🛠 Tip: If you’re buying new, this project may run you around $70–90 total. But if you can scavenge most of the materials like I did, the cost drops significantly.
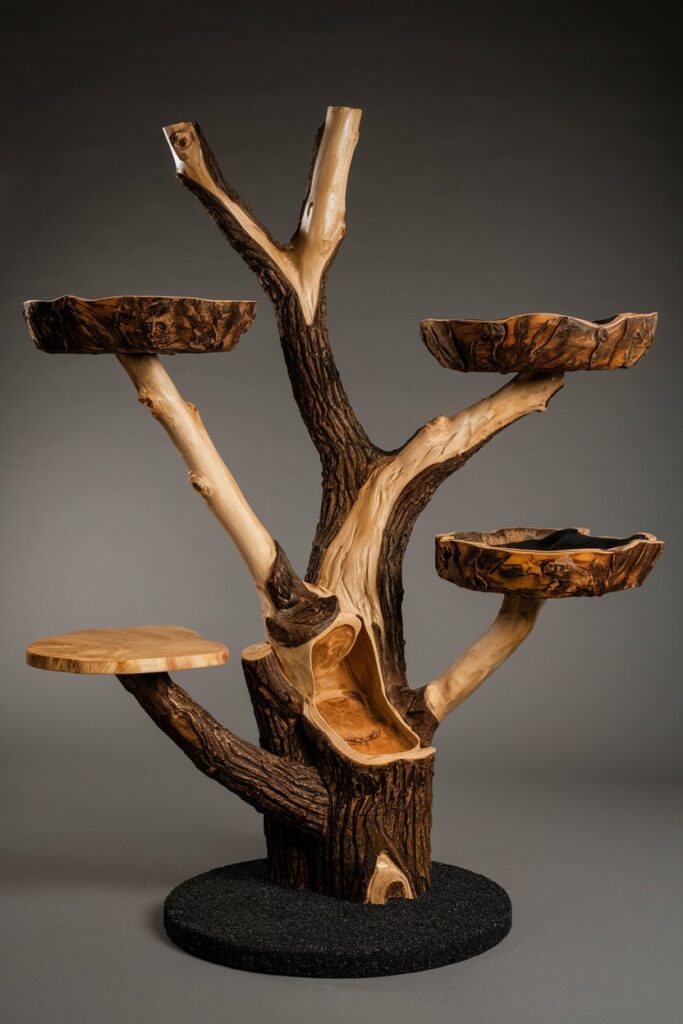
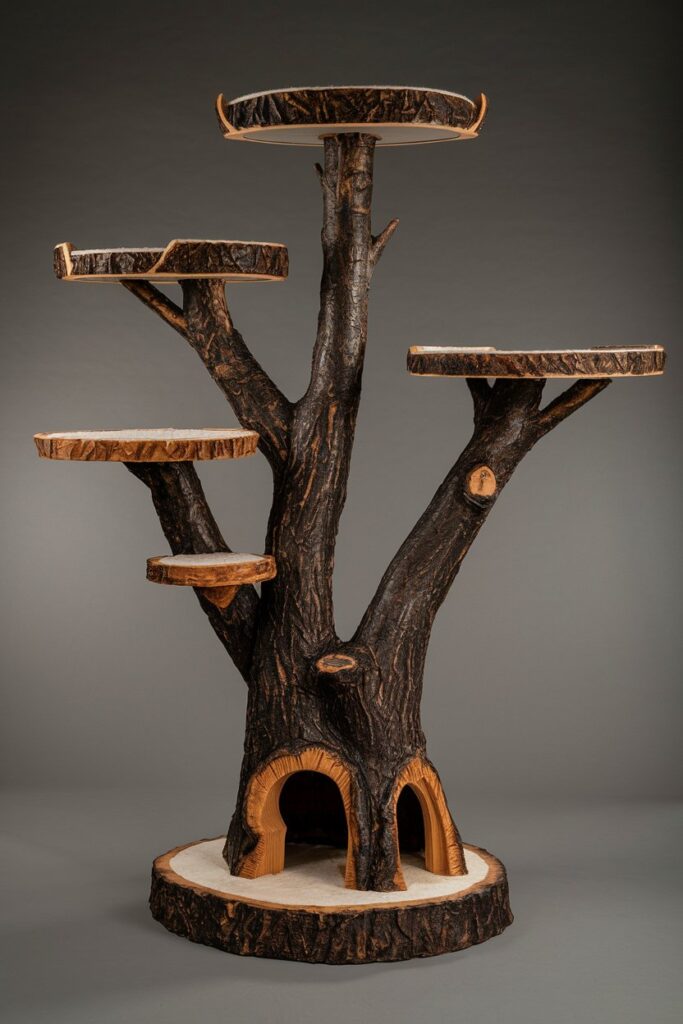
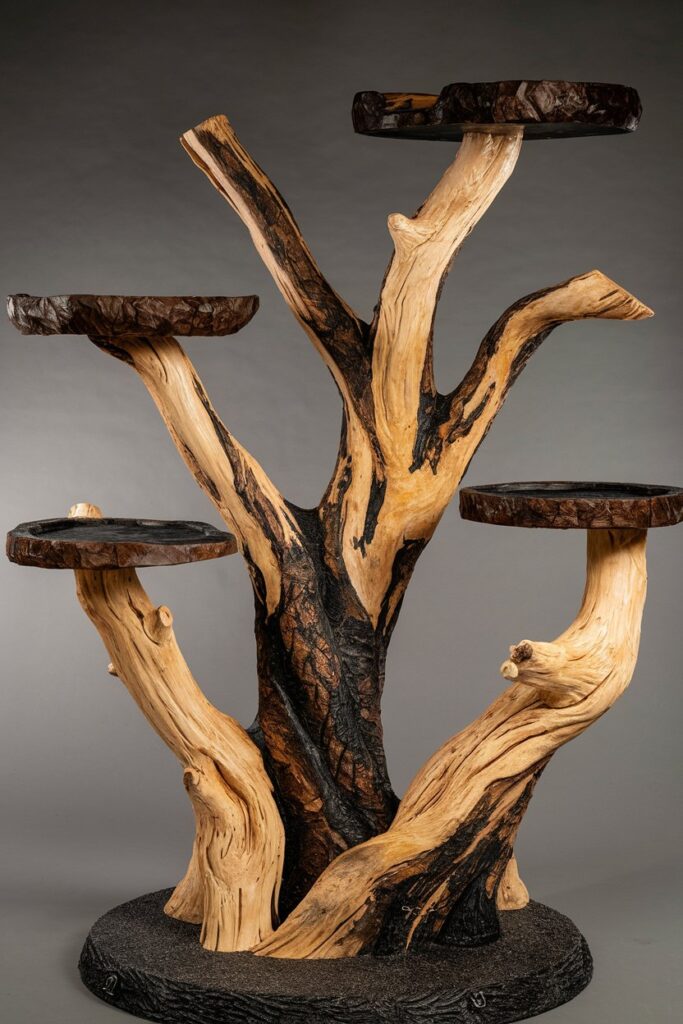
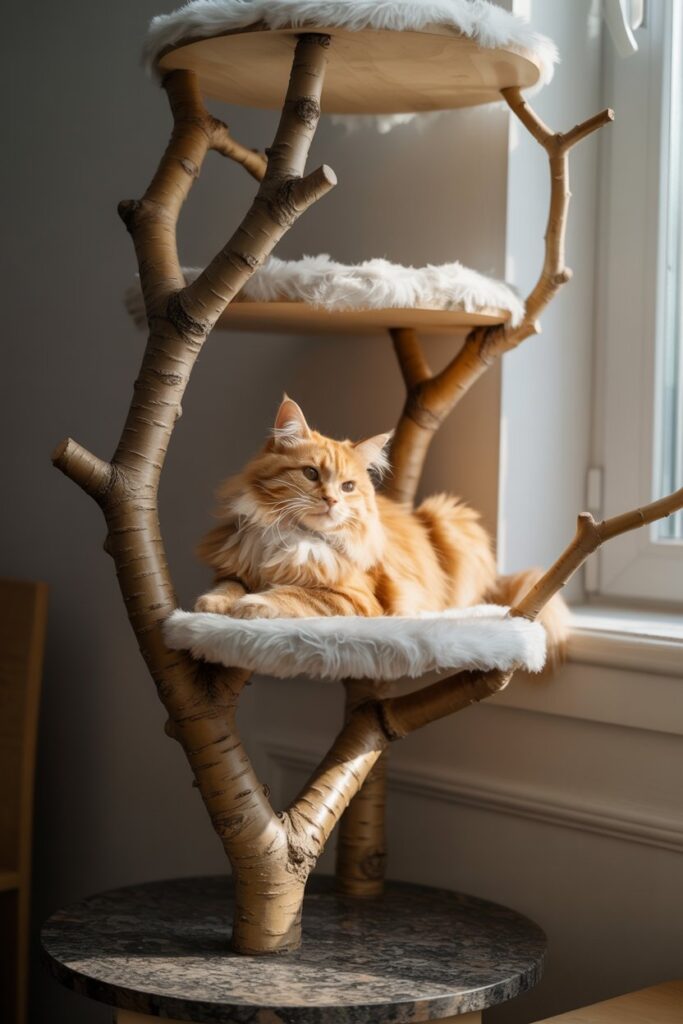
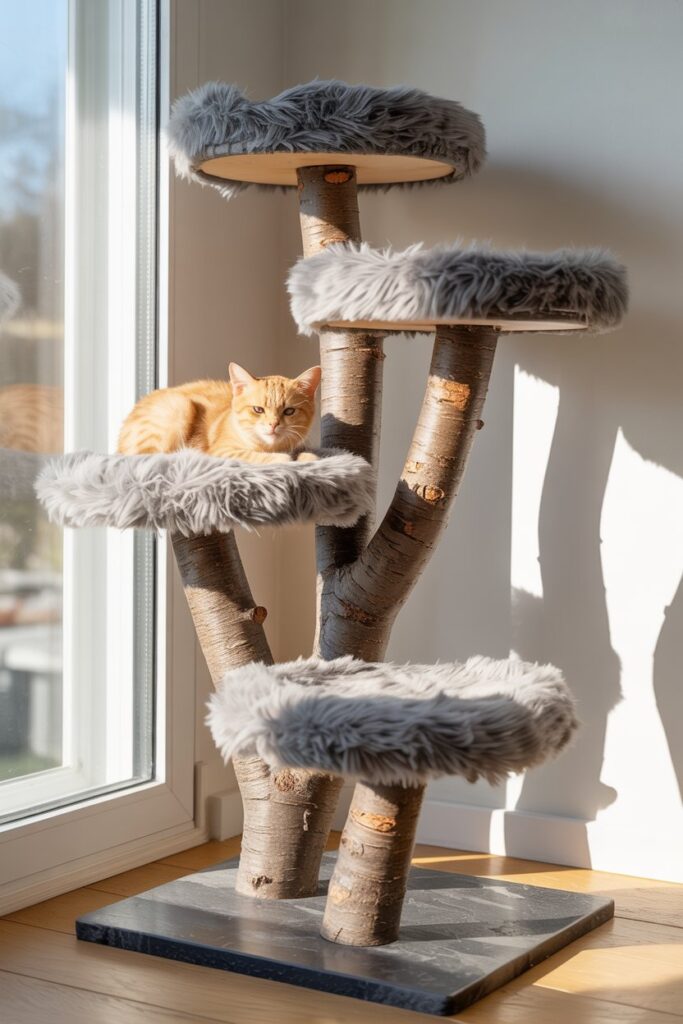
Selecting and Preparing Tree Branches for the Structure
To give the cat tree a natural look and feel, I started by selecting tree limbs from a dead tree I had recently taken down. If you don’t have access to your own, you may be able to get some from a local arborist, wood lot, or even a neighbor doing yard cleanup.
Look for limbs that are:
- Strong and dry (no rot)
- Between 2–4 inches in diameter
- Naturally curved or forked for added climbing interest
Once you’ve chosen your limbs, the next step is to find one to act as the main trunk — this will be the central support for the entire structure. Make sure the base of this trunk is cut clean and flat so it can stand upright on its own. I used a radial arm saw for a clean cut, but a chainsaw or hand saw works too.
Before moving on, play around with your limb layout on the ground. Position them in a way that creates levels and platforms — this will help you determine where to build your base and perches later on.
Building a Stable Cat Tree Base Platform
Before you start drilling or gluing anything, take a moment to figure out the general shape and position of your trunk and limbs. Once you’ve got that rough layout in mind, you can begin crafting the foundation — a strong, balanced base is the key to keeping your cat tree upright and safe. You can adjust yours to fit your space or your cat’s acrobatic ambitions.
🔨 Materials Used for the Base Frame
- 1″x3″ furring strips for the outer frame
- 1″x2″ furring strips for internal support
- 1/4″ plywood (Birch, in my case) for the floor
- Wood screws (1-5/8″ and 1-3/8″)
- Wood glue
🛠 Step-by-Step Instructions
1. Cut the Frame Boards
Cut your 1″x3″ furring strips to form a rectangle. Stand the boards on edge and form the frame. Use clamps or a 90° corner jig to keep things square.
- Two pieces at 28.5″ (for the long sides)
- Two pieces at 17″ (for the short ends)
2. Drill, Glue, and Screw
- Pre-drill and countersink your holes (furring strips split easily).
- Apply wood glue to the joints before screwing them together.
3. Add Internal Supports
To reinforce the base platform and ensure it can handle the weight of the tree, cut 1″x2″ strips for internal support.
- Cut the Strips: Measure and cut two 27″ pieces for the length of the frame, and two 13.5″ pieces for the crosswise support.
- Assemble the Frame: Lay the base frame flat on a surface. Place the 1″x2″ strips inside the frame, positioning them along the edges, with their edge flush with the bottom of the frame.
- Secure the Strips: Apply wood glue along the contact points, then screw them into place to ensure they’re secure. This will help reinforce the frame and prevent it from bowing under the weight of your cat tree.
4. Secure the Tree Trunk
- Position the Tree Trunk: Place your main tree branch inside the frame where you want it to sit, then mark the location of the trunk on the frame.
- Add Support Blocks: Add 2″x2″ wood blocks (or more 1″x2″ strips, if necessary) around the base of the trunk inside the frame. These will help lock the trunk into position and ensure it’s stable.
- Drill and Secure: Drill up through the bottom of the frame into the trunk and screw in place. This will anchor the trunk securely to the base.
💡 Pro Tip: If your design includes an additional vertical branch, add a second limb support to reinforce the structure and keep everything balanced.
5. Cut and Install the Plywood Floor
- Measure and Cut: Measure the inside of your frame and cut the plywood sheet to fit.
- No Table Saw? No problem! Use a circular saw and clamp a straight edge to guide your cut for a clean, accurate line.
- Secure the Floor: Apply wood glue to the bottom of the plywood, then fasten it to the frame with 1-3/8″ drywall screws.
6. Carpet the Base
- Cut your carpet remnant to fit the plywood floor.
- Attach it using either non-toxic adhesive or hook-and-loop fasteners (if you want to remove/clean it later).
Once everything is secured and your trunk is standing firm, take a moment to give it a wiggle — if it doesn’t budge, you’re on the right track. If there’s any movement, reinforce your supports with more screws or blocks until everything feels rock solid.
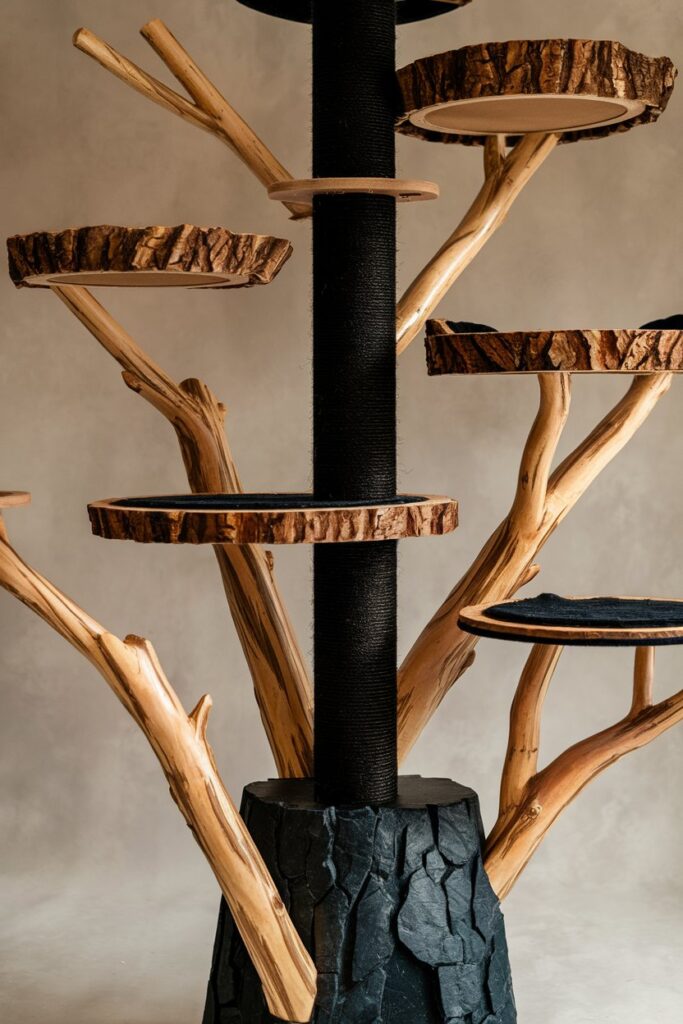
Attaching Tree Branches to the Cat Tree Base
Now that your base is complete and your trunk is in place, it’s time to add the limbs that will act as both structural and decorative elements — plus give your cat fun places to climb and perch.
🪚 Here’s how I did it
- After letting the adhesive and screws on the base dry fully, I tilted the tree on its side to access the trunk from underneath.
- I pre-drilled pilot holes up through the base, targeting the center of the trunk and any other vertical branches I was attaching.
- I then ran long 3-1/2″ wood screws up into the limbs, pulling them tight to the base structure.
If the trunk is unusually thick or knotty, you may want to drill a shallow starter hole into the base of the limb to help guide the screw.
🎯 Goal: Make sure each limb is firmly seated and shows no wobble. Your cat is going to leap and scratch this thing — it needs to be strong.
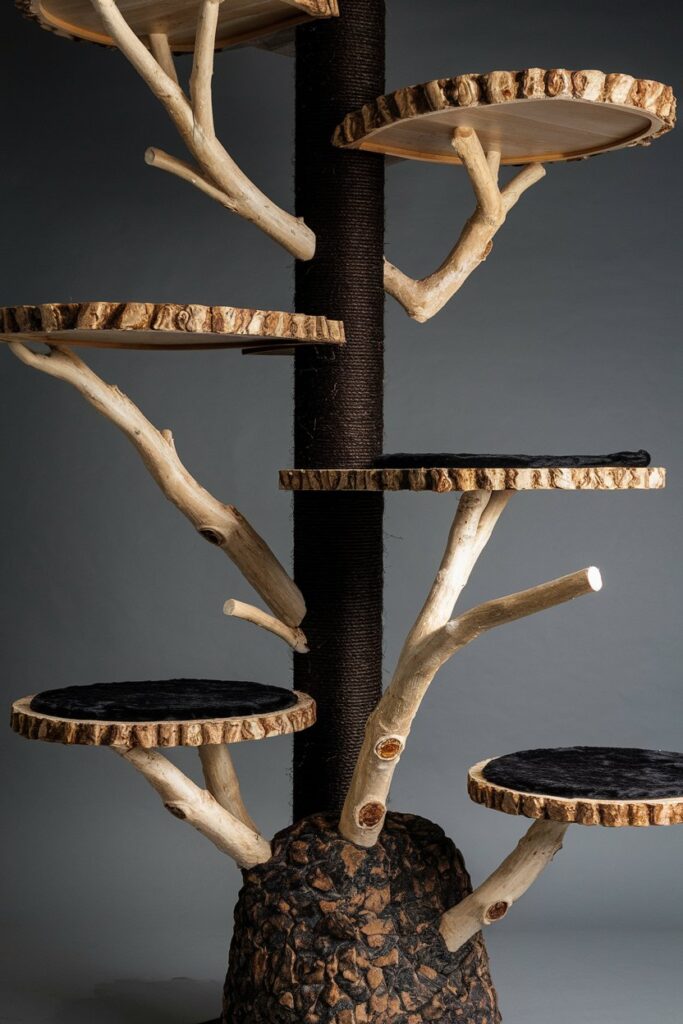
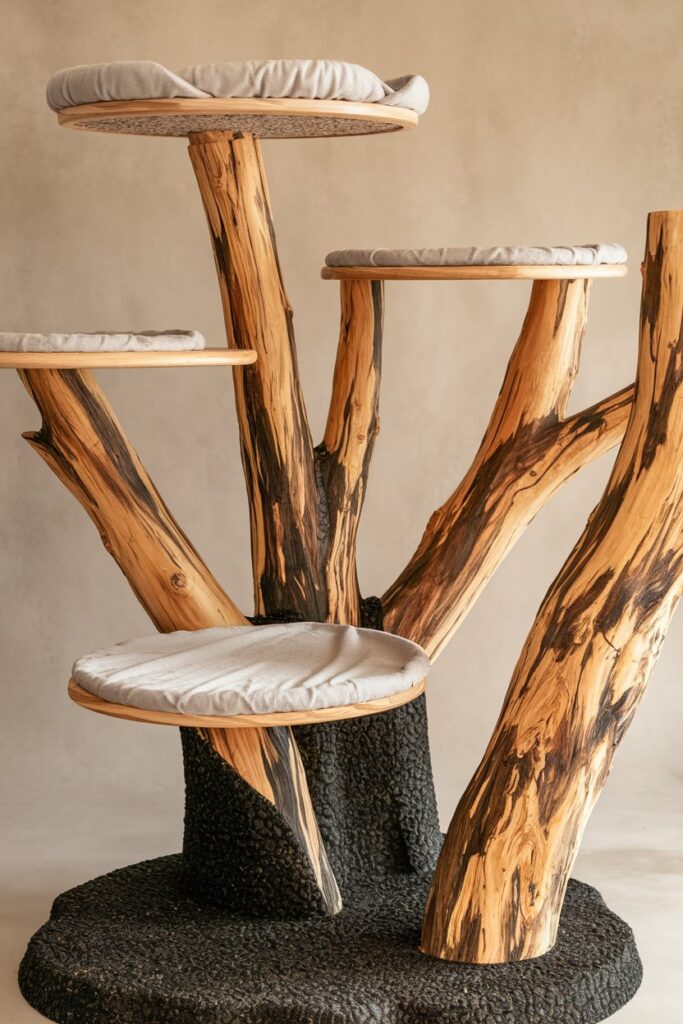
Building the Cat Tree Platforms and Perches
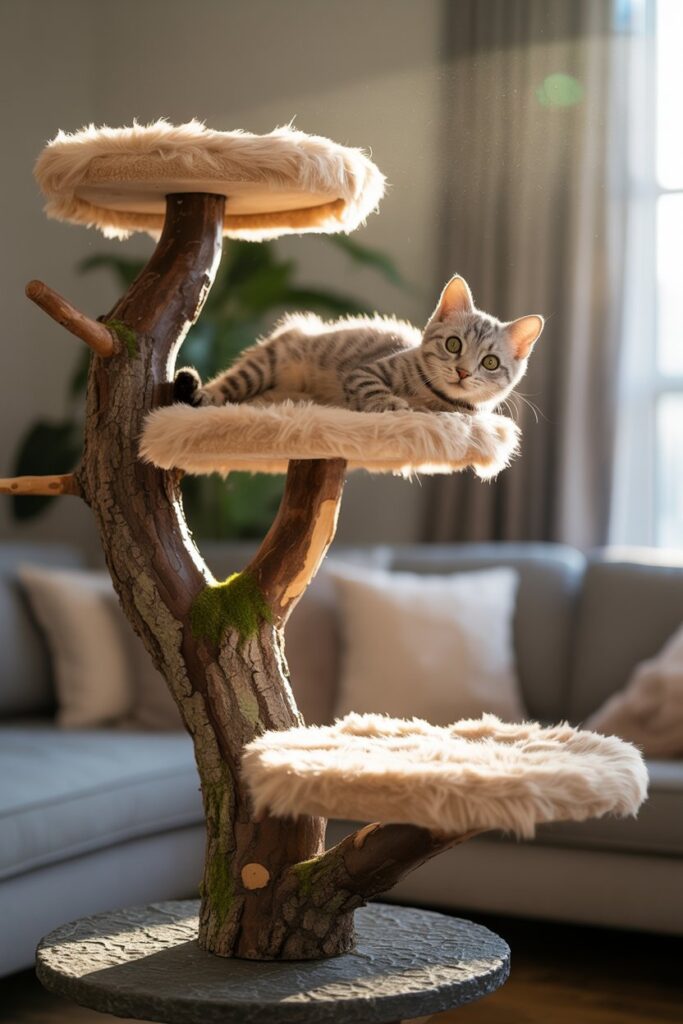
Once your base and limbs are locked in, it’s time to focus on what your cat really cares about — the climbing and lounging platforms. These surfaces offer vertical enrichment, lounging spots, and good old feline supremacy over the living room.
🪵 Choose Platform Locations First
Step back and look at your assembled tree. Which areas naturally invite a platform? Focus on where the branches fork or offer stable, flat-ish areas.
💡 Tip: Work with the shape of your branches — don’t fight them. It’s easier (and safer) to let nature guide where your platforms go.
🧰 Tools and Materials for Platforms
- 1/4″ plywood (cut to shape)
- Carpet remnants or samples
- Wood screws or hot glue
- Wood filler (optional)
- Non-toxic adhesive
🛠 How to Build the Platforms
1. Trace and Cut Shapes
Use cardboard to template your platforms before cutting into plywood. Once you like the shape, trace it onto the wood and cut with a jigsaw.
2. Smooth the Edges
Sand down the platform edges and use wood filler on any imperfections. Rounded edges are safer and comfier for your cat.
3. Attach the Platforms
Screw directly into limbs from underneath when possible. Use long wood screws (pre-drill first!) or brackets for added stability.
4. Add Carpet for Comfort and Grip
Cut carpet to fit the shape of your platforms. Use hot glue or non-toxic adhesive to attach it firmly.
🎯 Your goal: stable platforms that can hold your cat’s weight and let them leap or lounge without wobbling.
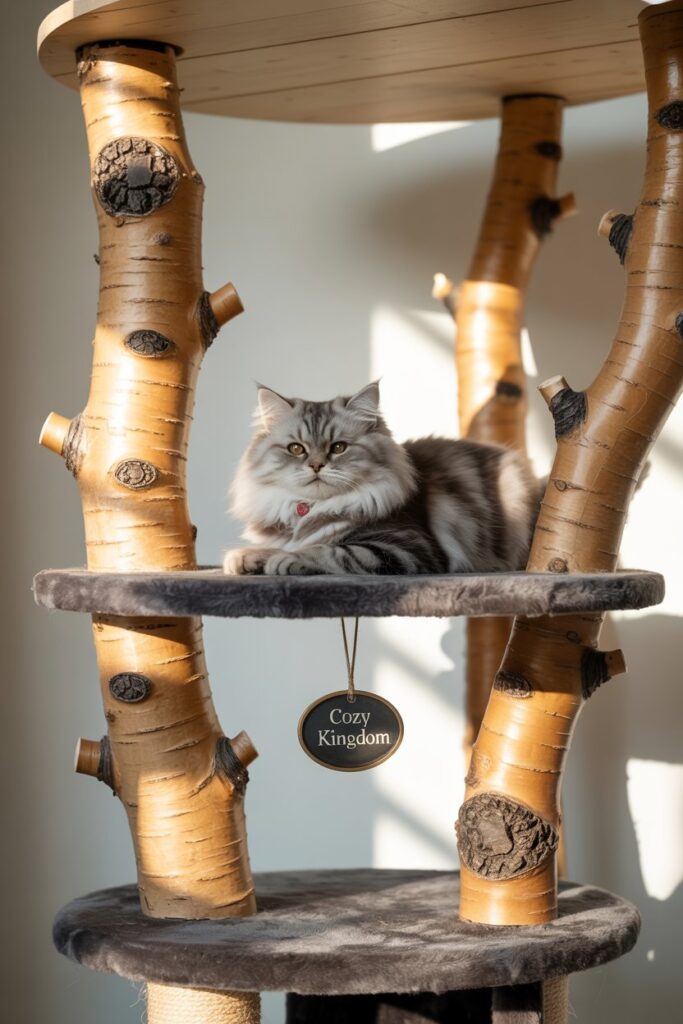
Add Finishing Touches with Faux Foliage
This step is totally optional, but if you want your cat tree to blend in with your home or look like an indoor jungle gym, some decorative greenery goes a long way.
🌿 What You’ll Need
- Fake vines or bushy greenery (3 bundles worked great for me)
- Hot glue gun or twist ties
- Optional: twinkle lights or hanging toys
🌱 How to Decorate
- Wrap vines around the limbs and trunk, securing with glue or fasteners.
- Let some greenery drape off platforms for a treehouse effect.
- For extra flair, hang a few jingly cat toys from the underside of each platform.
Now you’ve got more than a cat tree — it’s a full-blown feline paradise.
No DIY? No Problem! Stylish Cat Trees Under $100
Image | Key Features | Rating | Shop |
| 5 out of 5 | ||
| 4.6 out of 5 | ||
| 4.8 out of 5 |
Your Custom DIY Cat Tree Is Complete!
You just built a custom cat tree that rivals those $800 catalog versions — and probably had a lot more fun doing it. Whether you used old branches from your backyard or splurged on some extra carpet samples, your cat now has a unique vertical playground made with love.
At Sweet Purrfections, we believe your cat deserves more than basic pet store furniture. That’s why we bring you the coolest DIY cat furniture, homemade recipes, and clever tricks to keep your feline happy and healthy. Bookmark us and come back anytime for more creative projects — we’re your go-to hub for all things pawsome.
😺 Have a question or want to share your own version of this tree? Drop a comment below — we’d love to see it!