Why You Need DIY Wall Mounted Cat Shelves
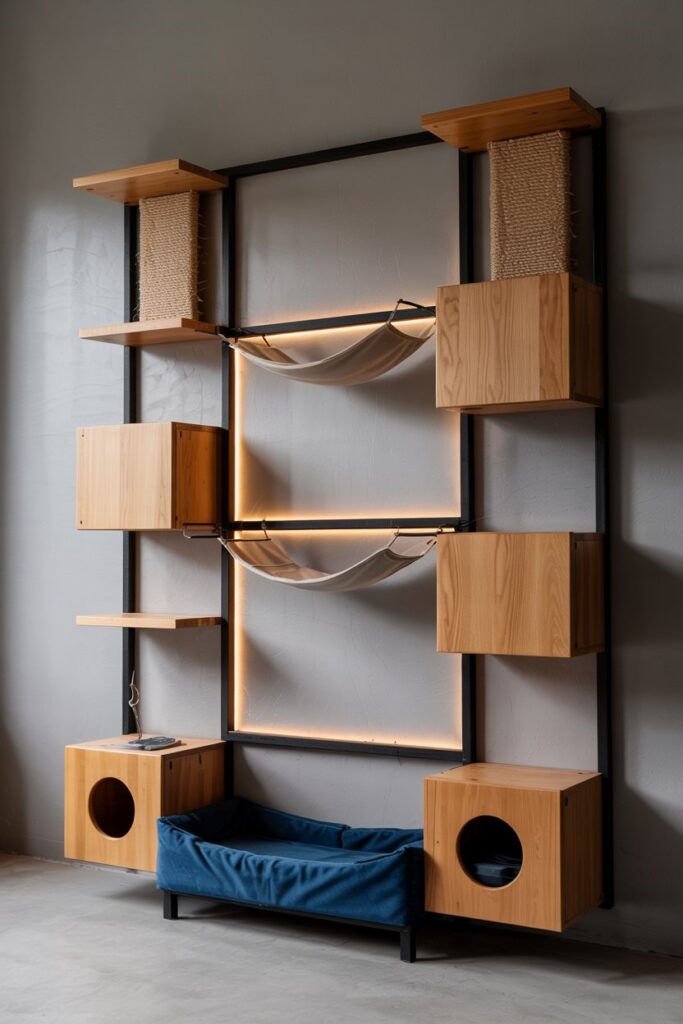
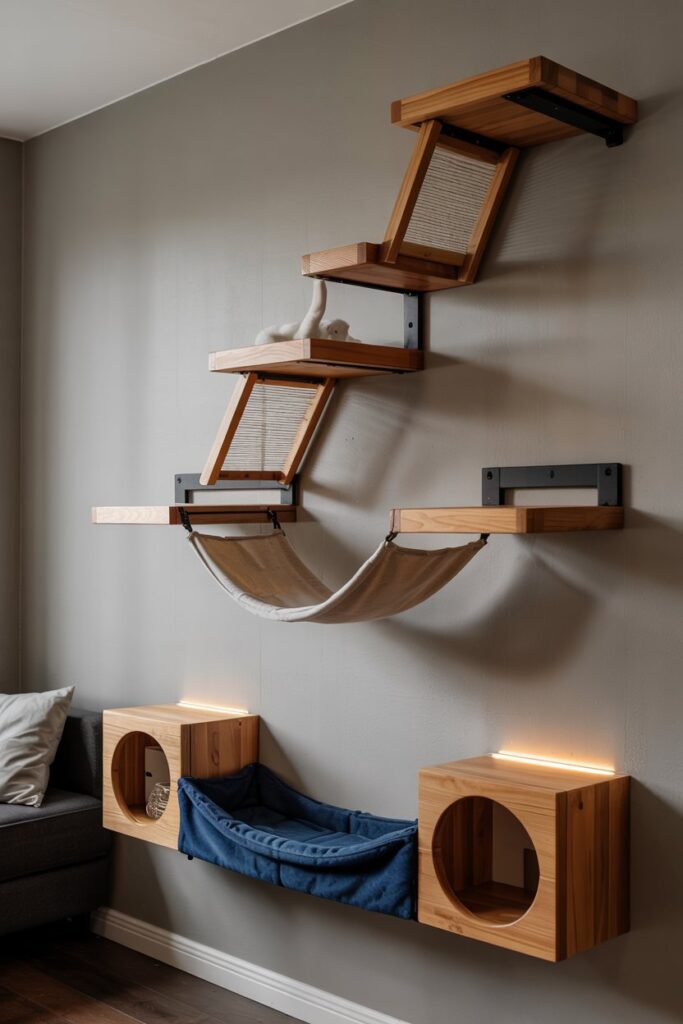
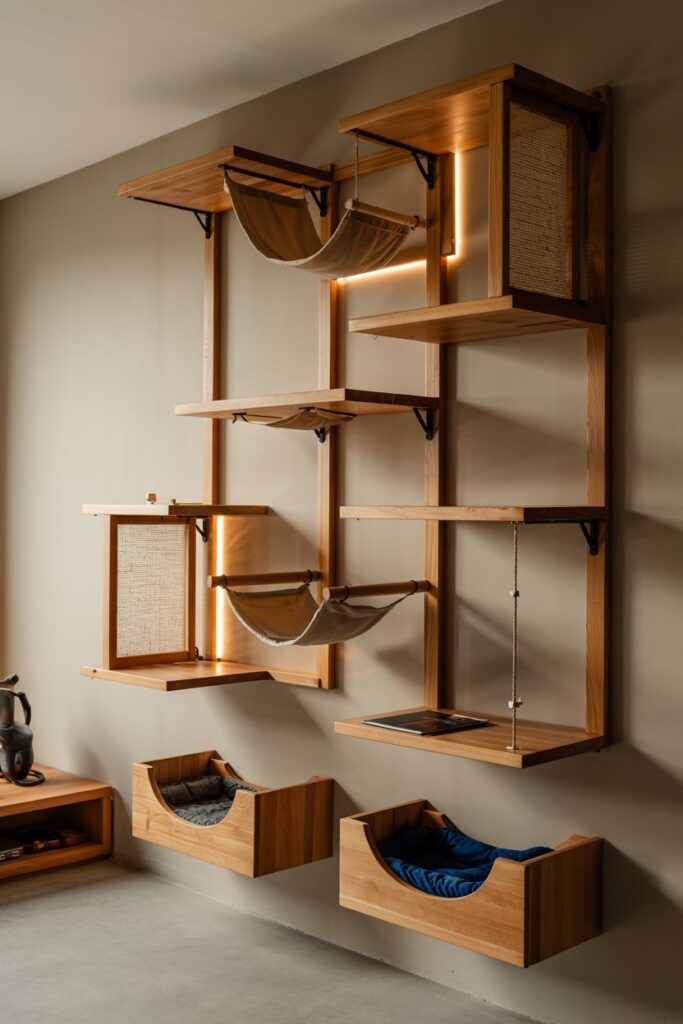
DIY Wall Mounted Cat Shelves do more than double as sleek décor—they transform blank walls into dynamic playgrounds that uplift your cat’s health and happiness. A modular, wall-mounted design using oak planks and matte-black steel brackets gives you a DIY Wall Mounted Cat Shelves solution that’s both stylish and functional.
By building your own climbing wall, you provide essential vertical space for exercise, mental stimulation, and stress relief. The minimalist silhouette integrates perfectly with modern interiors, while integrated sisal scratching wraps satisfy your feline’s natural instincts—protecting furniture and promoting healthy scratching behavior.

Materials You’ll Need
To ensure your cat climbing wall is both beautiful and durable, select high-quality, pet-safe materials:
- Oak Planks – ¾″ thick: Oak offers superior strength and timeless elegance. Its natural grain and durability make it ideal for furniture that withstands active feline play. For budget-friendly alternatives, consider pine or poplar.
- Matte-Black Steel L-Brackets: Choose brackets rated for at least 50 lbs each to confidently support jumping and lounging activities. Available in various sizes at hardware stores, these brackets blend effortlessly with modern décor.
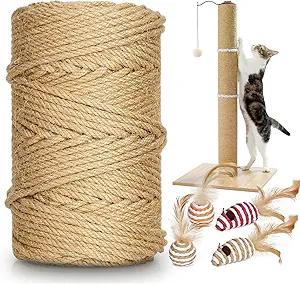
- Natural Sisal Rope (¼″ or ⅜″): Cats love the texture of sisal rope, which provides an ideal scratching surface. Secure it using glue or staples for longevity.
- LED Strip Lights (Optional): Low-profile, warm-white LEDs can be hidden discreetly behind shelves to create a gentle ambient glow during nighttime.
- Soft Fleece: Use fleece to line cozy cubbies or create inviting hammocks, ensuring your cat’s comfort.
Tools You’ll Need
Equipping yourself with the right tools ensures a smooth and safe installation process:
- Measuring Tape and Pencil: Essential for precise layout and accurate marking.
- Level: Keeps each shelf perfectly horizontal, preventing uneven surfaces.
- Cordless Drill with Stud-Finder Bit: Crucial for identifying wall studs and securely anchoring brackets.
- Screwdriver or Drill-Driver: Used for attaching brackets and cubby fasteners efficiently.
- Saw (Circular or Miter): Ideal for cutting oak planks to desired dimensions if pre-cut options aren’t available.
Designing Your Cat’s Wall-Playground
A thoughtful design ensures maximum enjoyment and functionality:
- Map Your Space: Measure your wall’s height and width to determine whether you’ll create a full floor-to-ceiling climbing wall or a stylish mid-wall setup.
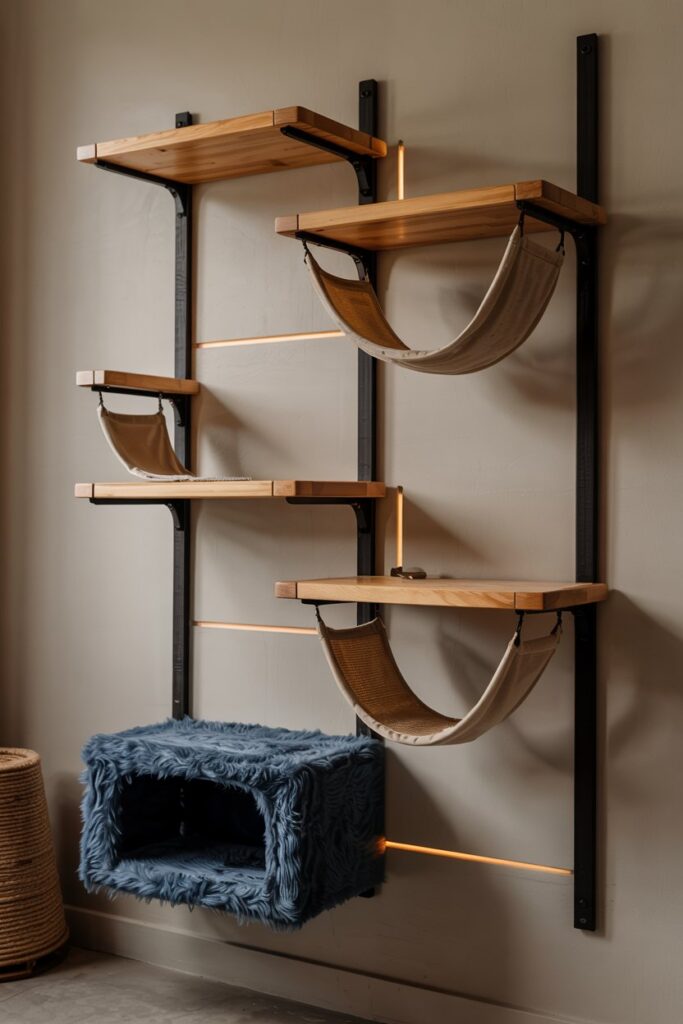
- Sketch Your Layout: Plan out the placement of shelves, scratching zones, cubbies, and hammocks. Allow 12–16″ vertical clearance between platforms for safe and comfortable leaps.
- Choose Your Flow: Arrange shelves in a staggered pattern to facilitate climbing, lounging, and playful sprinting. Balance active zones with restful spaces to cater to your cat’s varying needs.
Prepping Wood & Brackets
Proper preparation ensures lasting results:
- Cut or Source Your Planks: Purchase pre-cut oak shelves (18″×6″ recommended) or trim them to your desired sizes at home.
- Pre-Drill Bracket Holes: Prevent wood from splitting by drilling pilot holes into each plank where brackets will be attached.
- Dry-Fit: Lay out shelves and brackets on the floor first to confirm alignment and spacing before securing them onto the wall.
Securing Your Floating Shelves
Mount your shelves securely to ensure safety:
- Mark & Level: Use your stud finder and level to accurately mark bracket placements on your wall, ensuring each bracket aligns with a wall stud.
- Drill Pilot Holes: Drill ⅛″ pilot holes into marked studs, then secure brackets using 2½″ wood screws.
- Mount & Slide: Attach brackets firmly, then slide the oak planks onto the brackets, ensuring no hardware is visible for a clean finish.
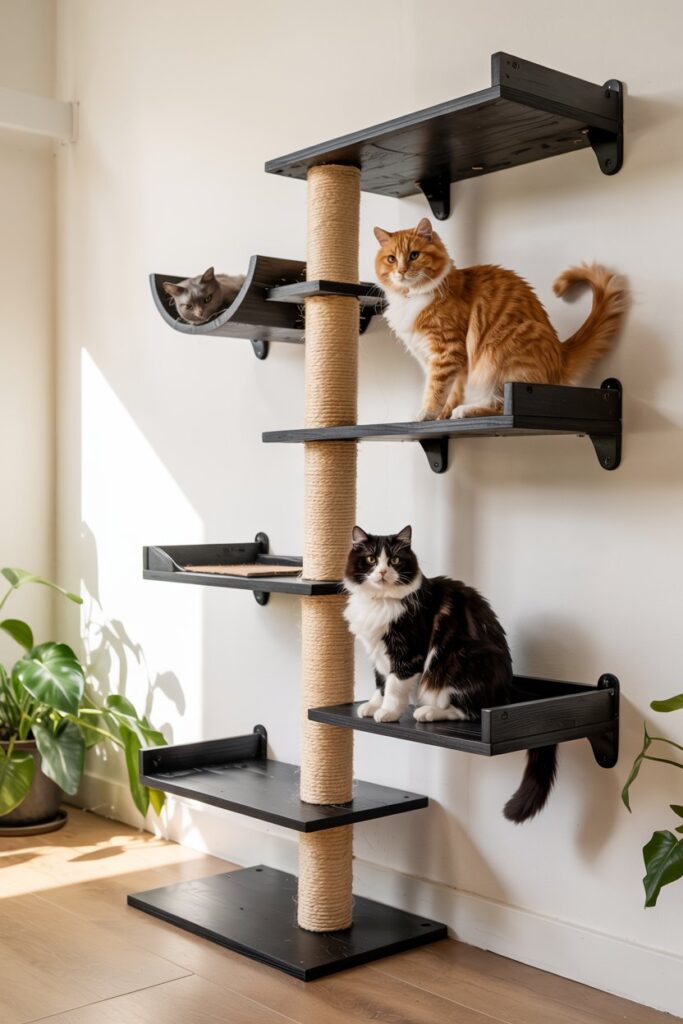
Building Sisal Scratch Zones
- Wrap Platforms: Select key shelves to create scratching zones by spiraling sisal rope tightly around edges. Secure rope ends with durable wood glue and finishing nails for stability.
- Vertical Strips: For dedicated scratching posts, attach wider sisal rope panels directly onto the wall between shelves using staples or small screws for robust attachment.
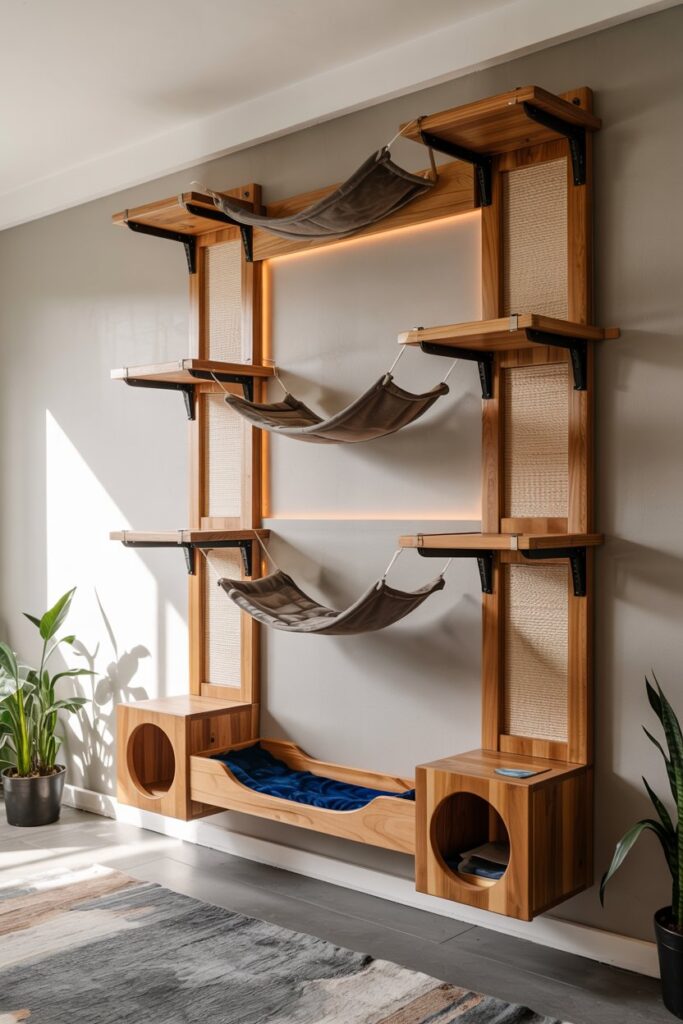
Crafting Cozy Cubbies & Hammocks
- Cubbies: Custom-build or source wooden boxes to mount flush against your wall. Line the interiors with soft fleece to create inviting, private hideaways for your cat to nap.
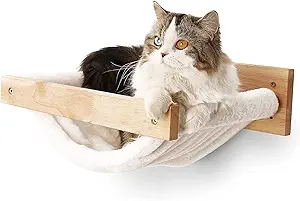
- Hammocks: Create relaxing fabric hammocks using neutral-toned fleece or canvas. Suspend these hammocks securely between shelf brackets using heavy-duty hooks, eye screws, and braided rope for safety.
Light It Up & Test Stability
- LED Installation: Enhance your climbing wall visually by tucking warm-white LED strip lights behind selected shelves. Run wires discreetly along the back of cubbies or shelves to maintain a sleek appearance.
- Safety Check: Conduct a thorough stability test by gently pressing on each shelf, cubby, and hammock. Tighten any loose screws and brackets to ensure everything is sturdy and safe for your cat.
Tips for Personalizing Your Cat Climbing Wall

- Stain or Paint: Customize the oak planks with stains or paints that match your home’s color scheme.
- Rotate Sisal: Refresh scratching zones by rotating or replacing the sisal every 6–12 months to maintain appeal.
- Add Toys or Perches: Include interactive elements like dangling feather wands or window perches for added stimulation.
- Share Your Creation: Snap photos and proudly share your finished climbing wall with fellow pet parents. Tag Sweet Purrfections on social media and browse our inspiration gallery for more creative ideas.
Ready, Set, Climb!
Congratulations, you’re now fully equipped to create a modern, stunning cat climbing wall that both you and your feline companion will love. Not only have you enhanced your home’s interior with stylish oak and steel accents, but you’ve also significantly enriched your cat’s daily life by providing endless opportunities for play, relaxation, and adventure.
Remember, your climbing wall is more than just décor—it’s a lasting investment in your cat’s happiness and health. Sweet Purrfections is thrilled to accompany you on your pet-parenting journey, so don’t hesitate to revisit us for more innovative ideas, practical tips, and feline-friendly inspiration.
Happy crafting—and even happier climbing!