Why Homemade Cat Treats Are the Best Choice for Your Feline
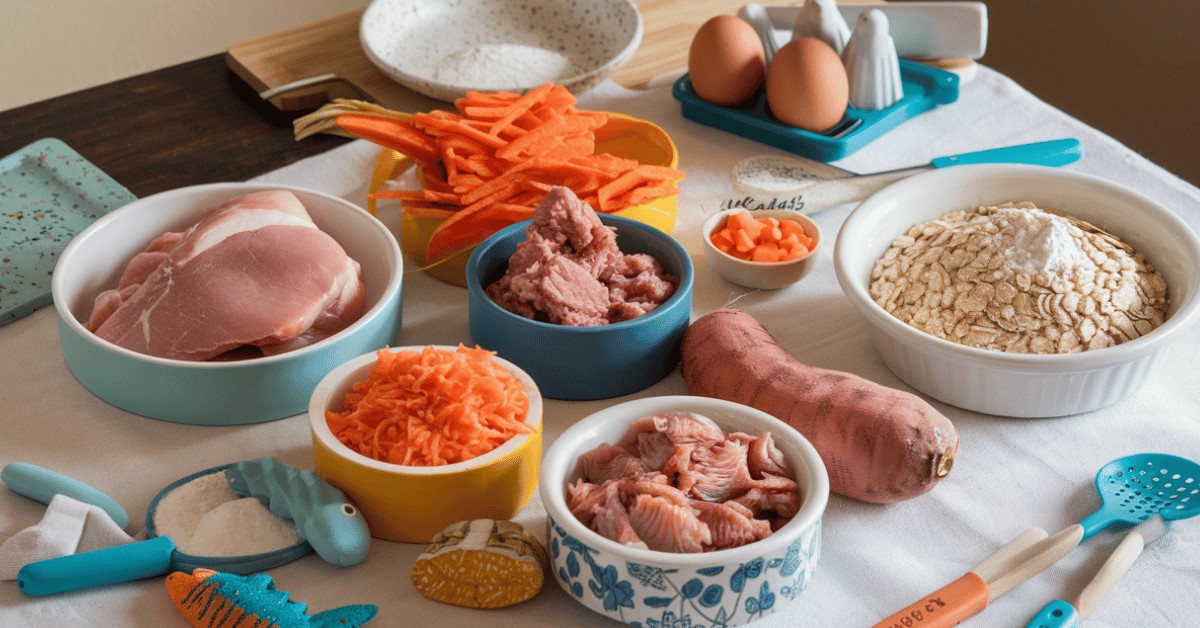
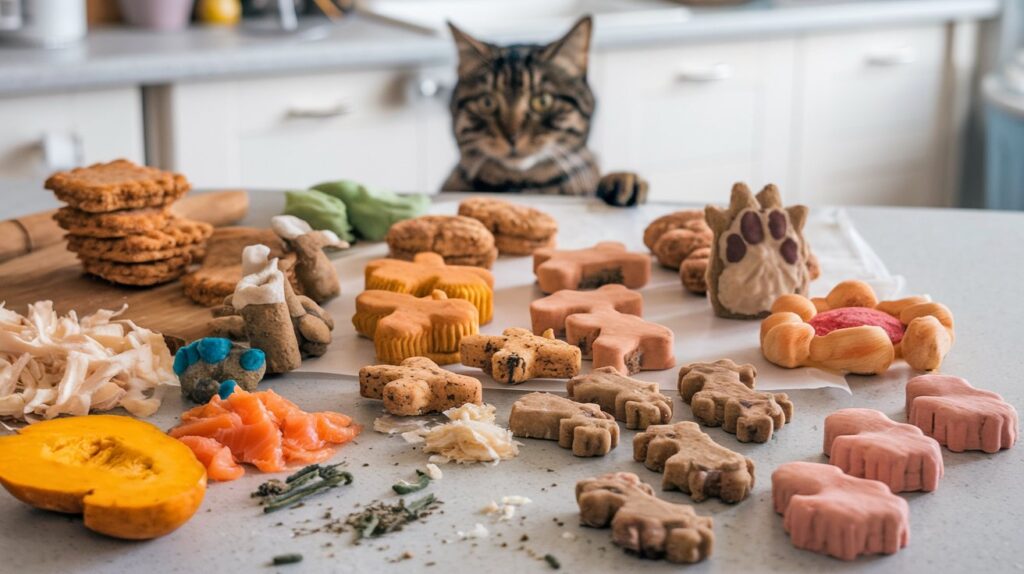
Want to make your feline feel like the luckiest cat on the block? With just a few simple ingredients and a bit of your time, you can create homemade cat treats that will leave your cat purring for more.
Not only are these treats tasty, but they are also designed with your cat’s health in mind—no artificial junk, just real, wholesome goodness. So, let’s dive into how you can become the culinary hero of your cat’s world!
Simple Homemade Cat Treats: 5 Irresistible Recipes
1. Crispy Chicken and Carrot Nuggets
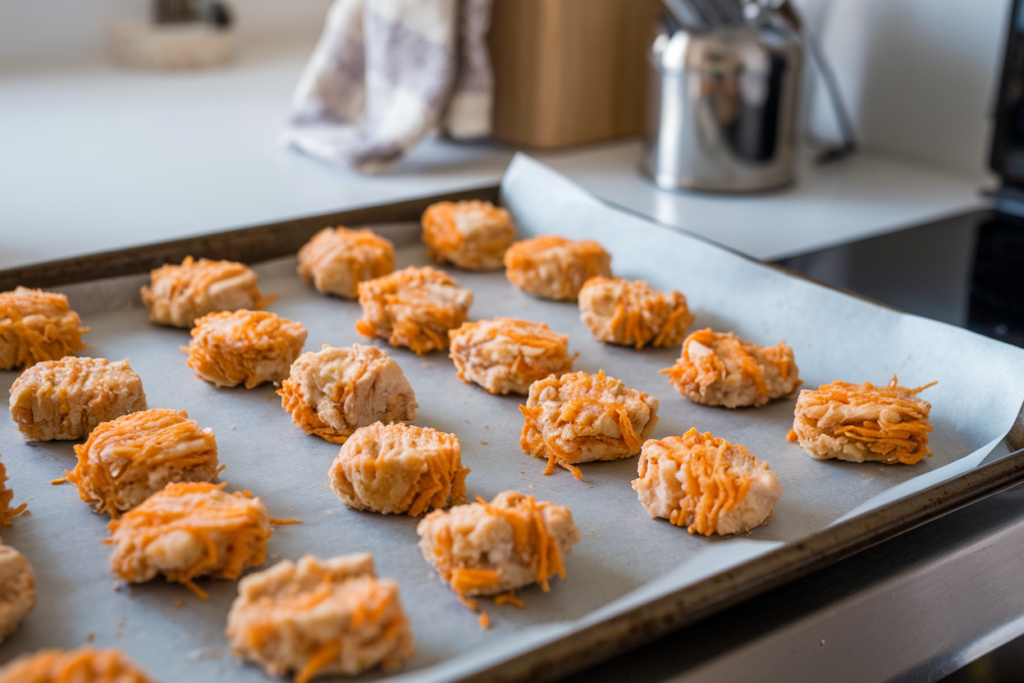
Ingredients: Cooked chicken breast, grated carrot, egg.
Instructions:
- Preheat your oven to 350°F (175°C).
- Mix the cooked chicken, grated carrot, and egg in a bowl until well combined. The mixture should be moist but not too runny.
- Form into small bite-sized pieces using your hands or a small spoon.
- Place the nuggets on a parchment-lined baking sheet.
- Bake for 12-15 minutes until firm and slightly golden.
- Let them cool completely before serving.
Storage: Store in an airtight container in the refrigerator for up to 5 days. You can also freeze them for up to 1 month.
Nutritional Notes: Adds a touch of fiber with grated carrot, while keeping protein as the focus.
2. Beefy Bone Broth Biscuits
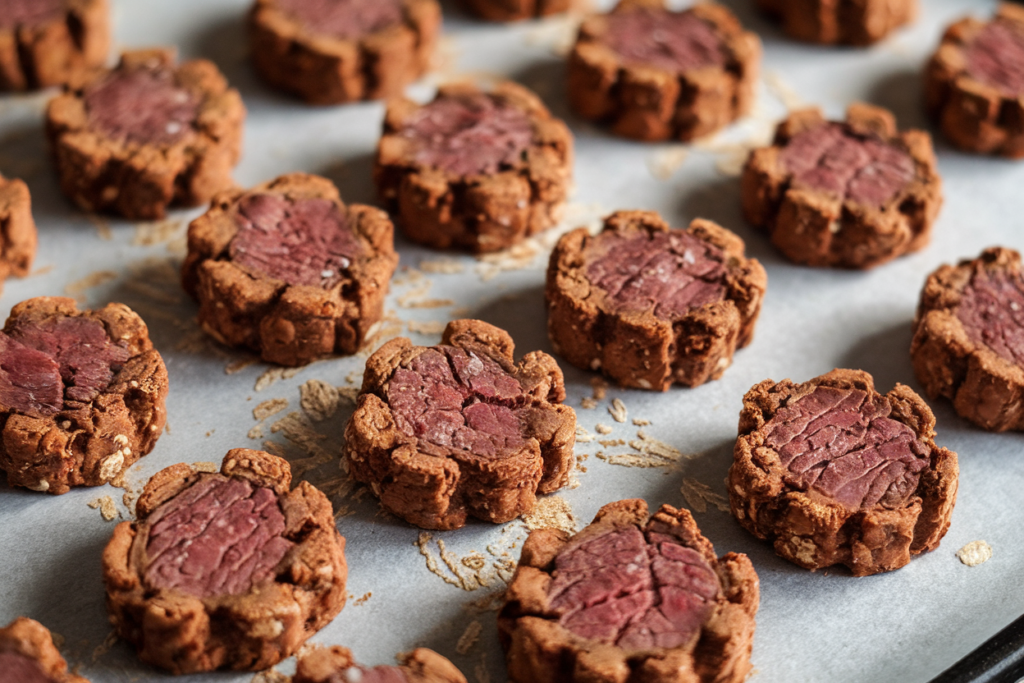
Ingredients: Cooked ground beef, bone broth (no added salt), oat flour.
Instructions:
- Preheat your oven to 350°F (175°C).
- Mix the cooked ground beef, bone broth, and oat flour in a bowl until a dough forms. Adjust with a little more oat flour if the dough is too sticky.
- Roll out the dough on a floured surface to about 1/4 inch thick.
- Cut into small shapes using a cookie cutter or knife.
- Place the shapes on a parchment-lined baking sheet.
- Bake for 15 minutes or until crispy and golden brown.
- Allow to cool completely before serving.
Storage: Store in an airtight container in the refrigerator for up to 7 days. Freeze for up to 2 months.
Nutritional Notes: Bone broth provides collagen, which is good for joint health.
3. Creamy Tuna Stars
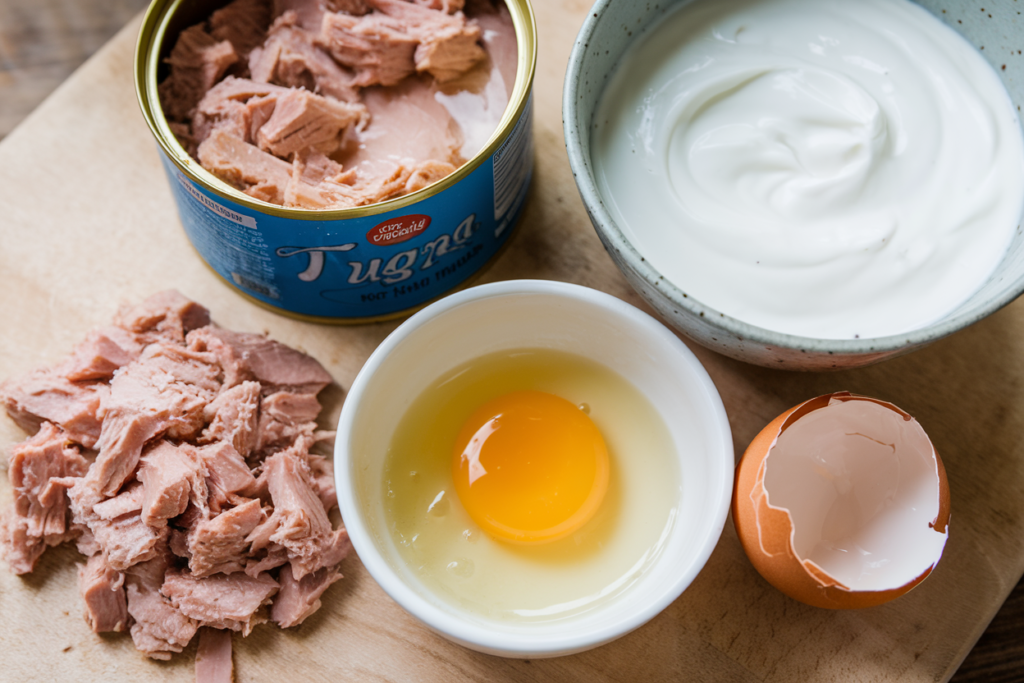
Ingredients: Canned tuna, plain Greek yogurt (in moderation), egg.
Instructions:
- Preheat your oven to 350°F (175°C).
- Combine canned tuna, Greek yogurt, and egg in a bowl and mix until smooth. The mixture should have a pasty consistency.
- Drop small spoonfuls onto a parchment-lined baking sheet. You can shape them into stars or any other fun shape.
- Bake for 10-12 minutes until the treats are set and slightly firm.
- Let them cool completely before giving them to your cat.
Storage: Store in an airtight container in the refrigerator for up to 5 days.
Nutritional Notes: Rich in protein with a bit of creamy yogurt to appeal to cats that tolerate dairy.
4. Turkey and Sweet Potato Munchies
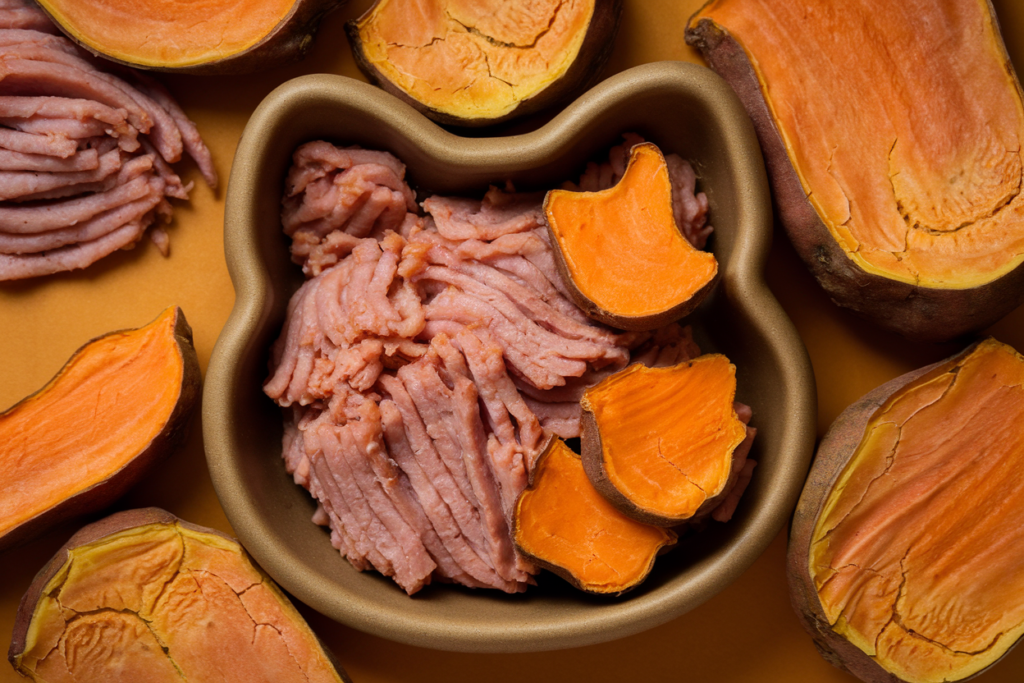
Ingredients: Cooked ground turkey, mashed sweet potato, catnip.
Instructions:
- Preheat your oven to 350°F (175°C).
- In a bowl, combine the ground turkey, mashed sweet potato, and catnip until thoroughly mixed.
- Shape the mixture into small, bite-sized pieces using your hands or a spoon.
- Arrange the pieces on a parchment-lined baking sheet.
- Bake for 15 minutes or until firm to the touch.
- Allow the treats to cool completely before serving.
Storage: Store in an airtight container in the refrigerator for up to 5 days. Freeze for longer storage (up to 1 month).
Nutritional Notes: Rich in protein with added vitamins from sweet potato.
5. Crunchy Sardine Squares
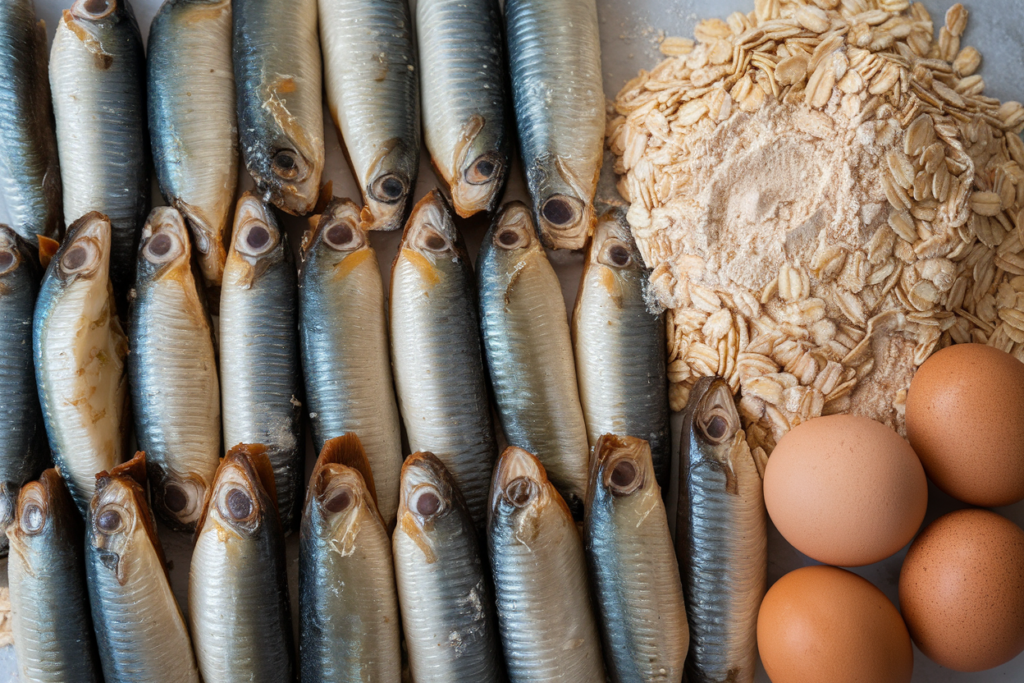
Ingredients: Sardines, oat flour, egg.
Instructions:
- Preheat your oven to 350°F (175°C).
- Mash the sardines well with a fork until smooth.
- Add oat flour and egg, mixing until it forms a smooth dough. If it’s too sticky, add a bit more oat flour.
- Roll the dough out on a floured surface to about 1/4 inch thick.
- Cut into small squares using a knife or pizza cutter.
- Place the squares on a parchment-lined baking sheet.
- Bake for about 15 minutes or until the treats are firm and crunchy.
- Let them cool completely before serving.
Storage: Store in an airtight container in the refrigerator for up to 1 week. Freeze for up to 2 months.
Nutritional Notes: Sardines are an excellent source of omega-3s, promoting a healthy coat.
Why Homemade Cat Treats Are the Purr-fect Choice
We all know that cats are obligate carnivores, which means they thrive on animal protein. This is why crafting homemade cat treats can be the ultimate game-changer for your kitty’s health and happiness.
When you make treats at home, you’re in control—you choose the best quality meats, avoid the unnecessary fillers, and cater to your cat’s specific nutritional needs. No more mystery ingredients that sound like they belong in a science experiment! Instead, you get to create something that’s both fun to make and beneficial for your furry friend.
Why Cats Need High-Protein Treats
Cats are, without a doubt, true carnivores. Unlike other pets, they can’t handle loads of carbs or plant-based proteins—they need animal proteins to thrive. That’s why every recipe for simple homemade cat treats focuses on high-quality meats.
Chicken, turkey, salmon—these are the kind of treats that will not only make your cat happy but will also keep them healthy. Meaty treats are rich in taurine, an essential amino acid that cats need for heart and eye health. Unlike us humans, cats can’t produce taurine on their own, so it’s important to ensure they get plenty of it in their diet. Homemade treats make it easy to pack in this vital nutrient.
Key Nutrients Your Cat Needs in Treats
The magic behind homemade cat treats lies in understanding what your cat truly needs. Here are a few of the key nutrients that make these treats nutritionally sound:
- Taurine: It’s vital for keeping your cat’s heart and eyes in tip-top shape. Animal proteins like chicken and beef liver are fantastic sources of taurine.
- Arachidonic Acid: Found only in animal fats, this fatty acid is essential for maintaining your cat’s healthy skin and a shiny coat.
- Vitamin A and Niacin: Unlike other animals, cats can’t make their own vitamin A and niacin from plant-based sources. They need it ready-made from meat—a perfect reason to keep those tasty meat treats coming!
Foods to Avoid When Making Cat Treats
Not everything that’s tasty for us is good for our furry companions. While it might be tempting to share everything with your cat, there are a few ingredients you should always avoid:
- Onions and Garlic: Even in small amounts, these can be toxic to cats and can lead to severe health issues.
- Chocolate: Though we all love a bit of chocolate, it’s a hard no for cats. Chocolate contains theobromine, which is highly toxic to felines.
- Excessive Carbohydrates: Avoid grains, corn, and fillers in large amounts. Cats have no dietary need for carbs, and too much can lead to obesity or digestive issues.
Keeping these nutritional insights in mind, you’ll be ready to craft treats that cater specifically to your feline’s carnivorous nature. Not only will they be tastier than anything store-bought, but your cat will reap the benefits of a diet that matches their natural needs.
Benefits of Homemade Cat Treats
So, why should you roll up your sleeves and make your own cat treats instead of reaching for a bag at the store? Here are three compelling reasons:
1. Nutritional Control
Commercial cat treats can be full of preservatives, fillers, and additives—things your cat doesn’t need. When you make treats at home, you know exactly what’s going into them. You can ensure they’re packed with the proteins and nutrients that your cat needs without the extra junk.
2. Customization for Health Concerns
Does your cat have allergies or a sensitive stomach? Making your own treats means you can tailor them to your cat’s specific health needs. No more worrying about sneaky allergens; you’re in control, and that means peace of mind.
3. Bonding Through Cooking
Making treats for your cat can be a bonding experience. Whether it’s your kitty watching curiously from the kitchen counter or pouncing on the first warm bite, there’s something incredibly satisfying about showing your pet some homemade love. Plus, it’s fun—after all, isn’t spoiling our cats one of the best parts of being a cat parent?
Wrap-Up: Spoil Your Cat with Love and Nutrition
Making homemade cat treats is not only about providing your feline friend with something delicious; it’s about crafting a healthier, happier life for them. By understanding your cat’s nutritional needs, avoiding harmful ingredients, and preparing treats with love, you can take a proactive role in your pet’s well-being.
If you’re looking for more fun and healthy cat care ideas, Sweet Purrfections is here to help! Our blog is packed with recipes, care tips, and all sorts of feline-friendly inspiration. Don’t forget to share your favorite homemade treats with us and subscribe for more pawsome content to keep your cat purring with joy.
Happy baking and even happier purring from your beloved cat!

