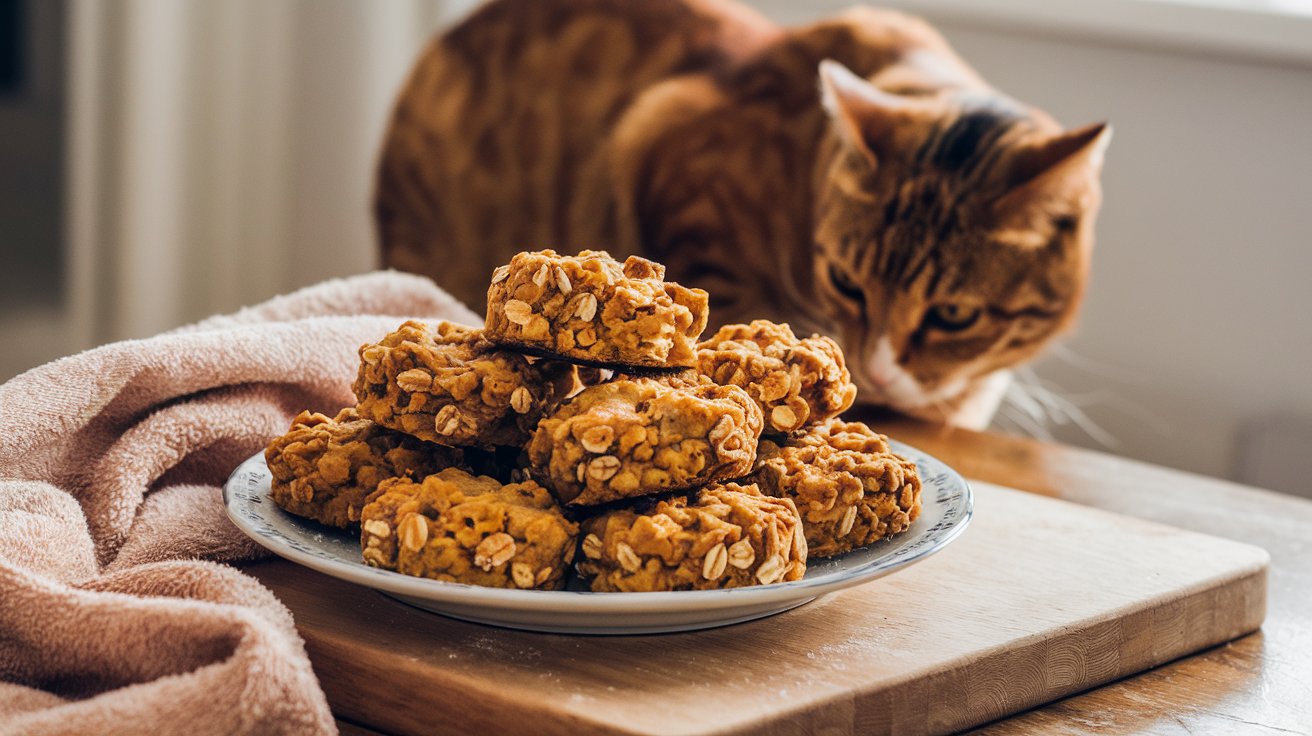
Why These Tuna and Pumpkin Cat Treats Are Perfect for Your Cat
If you’re looking for a simple way to spoil your cat with healthy, all natural-homemade treats, you’re in the right place! These easy tuna and pumpkin cat treats are not only delicious but also packed with nutrients your feline friend will love.
Unlike store-bought treats that often contain mystery additives and artificial preservatives, this homemade recipe uses only natural ingredients that are safe and beneficial for your cat’s health. Plus, making your own cat treats is an excellent way to ensure your pet gets a snack tailored to their dietary needs—without any unwanted fillers.
Why Make Tuna & Pumpkin Cat Treats?
There’s a reason why tuna and pumpkin are a winning combo for cat treats. Both ingredients offer a variety of health benefits while also being highly palatable to most cats.
✔️ Tuna is packed with protein – A key component of a cat’s diet, tuna provides essential amino acids and healthy fats. The strong fishy aroma also makes it irresistible to cats!
✔️ Pumpkin supports digestion – This superfood is rich in fiber, helping with digestion and preventing hairballs. It’s also gentle on sensitive stomachs.
✔️ No artificial fillers – Many commercial treats contain ingredients that may trigger allergies or weight gain. By making your own, you control exactly what goes into your cat’s diet.
✔️ Budget-friendly and easy – With just a handful of ingredients, you can whip up these homemade treats in no time, saving money while giving your cat a high-quality snack.
What You’ll Need for This Recipe
Before we get started, let’s go over the simple ingredients needed to create these wholesome, crunchy tuna & pumpkin bites:

🟢 1 can of tuna in water (drained) – Provides high-quality protein and a flavor cats love.
🟢 1/2 cup pumpkin purée (not pie filling!) – A natural source of fiber and beneficial nutrients.
🟢 1/4 cup oat flour – A gentle, grain-based flour that helps bind the ingredients together.
👉 Optional Additions
- A pinch of catnip for an extra fun twist
- A teaspoon of coconut oil for added coat and skin benefits
💡 Pro Tip: If you don’t have oat flour, you can easily make your own by blending rolled oats into a fine powder using a food processor.
How to Make Tuna & Pumpkin Cat Treats
Now that we’ve covered the benefits of homemade cat treats and the simple ingredients you’ll need, it’s time to get baking! This recipe is quick and beginner-friendly, so even if you’ve never made cat treats before, you’ll have no trouble whipping up a batch.
Follow these easy steps, and in no time, your cat will be munching on fresh, all-natural treats made with love.
Step 1: Preheat the Oven
Before you start mixing your ingredients, preheat your oven to 350°F (175°C). This ensures an even bake and the perfect texture for your cat’s treats.
💡 Pro Tip: If you’re using an air fryer, set it to 325°F (163°C) and adjust the baking time accordingly (usually a few minutes less).
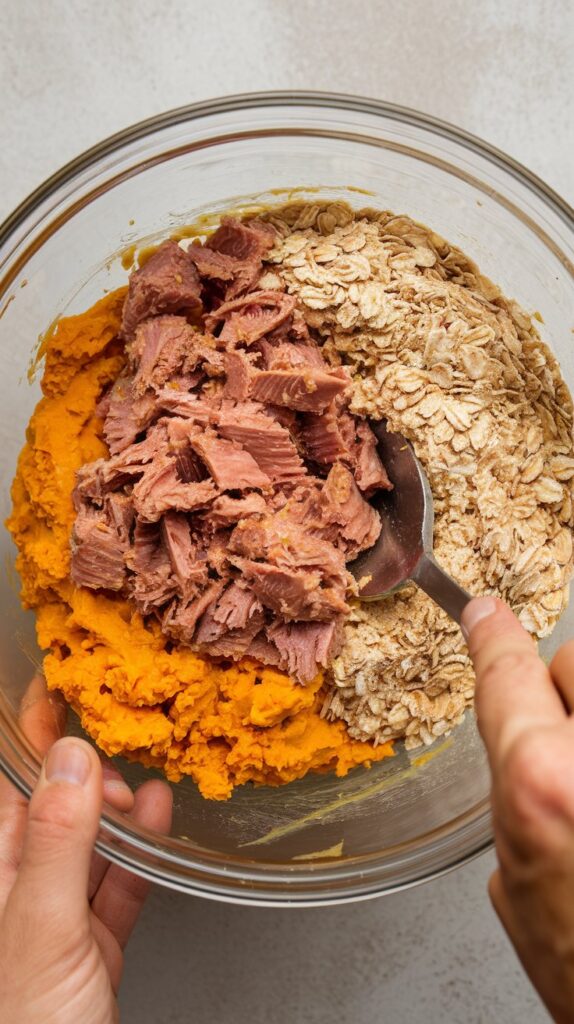
Step 2: Mix the Ingredients
Grab a mixing bowl and add:
✔️ 1 can of tuna (drained and flaked apart with a fork)
✔️ 1/2 cup pumpkin purée
✔️ 1/4 cup oat flour
Using a spoon or your hands, mix everything together until it forms a soft dough. The texture should be moist but firm enough to hold its shape.
👉 Adjusting the Dough
- If the dough feels too dry, add a teaspoon of water or a bit more pumpkin.
- If it’s too sticky, sprinkle in a little extra oat flour.
Step 3: Shape the Treats
Now for the fun part—forming the treats!
🔹 Bite-Sized Balls: Roll small pieces of dough (about the size of a pea or blueberry) into balls.
🔹 Flattened Biscuits: Press each ball down slightly to create a more biscuit-like shape.
🔹 Cute Shapes: If you have small cookie cutters, roll out the dough and cut out fun shapes like fish or hearts.
💡 Pro Tip: Keep the treats small and bite-sized so they’re easy for your cat to eat.
Step 4: Bake to Perfection
Place your shaped treats on a parchment-lined baking sheet and pop them in the oven.
⏲ Baking Time: 12-15 minutes, or until the treats are firm and slightly golden.
🔥 Crispier Option: If your cat prefers crunchier treats, leave them in the oven for an extra 2-3 minutes.
Step 5: Let Them Cool
Patience is key! Once baked, let the treats cool completely before serving them to your cat. This helps them firm up and ensures they’re safe to eat.
💡 Storage Tips
- Refrigerator: Store in an airtight container for up to one week.
- Freezer: For longer shelf life, freeze the treats and thaw a few at a time as needed.
How to Serve & Store Homemade Tuna & Pumpkin Cat Treats
Now that your homemade cat treats are ready, it’s time to share them with your feline friend! But before you do, here are some helpful tips to make sure your cat enjoys them safely and to their fullest.
Introducing the Treats to Your Cat
If this is your cat’s first time trying homemade treats, they might be a little unsure at first. Cats are known for being picky eaters, so here’s how to make the transition smooth:
🐾 Start Small – Offer your cat just one treat at a time and observe their reaction.
🐾 Mix with Their Food – If your cat is hesitant, crumble a small piece into their usual wet or dry food.
🐾 Let Them Smell It First – Some cats need a moment to sniff before they take a bite. Be patient!
💡 Tip: If your cat loves tuna, they’ll likely take to these treats quickly. But if they’re unsure, give them a little time—it can take a few tries before they decide they love something new.
How Many Treats Can You Give Your Cat?
While these all-natural treats are much healthier than store-bought options, moderation is still key!
🐾 For adult cats: 1-3 treats per day is a good starting point.
🐾 For kittens: Stick to very small portions, as their stomachs are more sensitive.
These treats are meant to be a fun supplement, not a meal replacement. Always ensure your cat’s regular diet remains balanced and complete.
Storage Tips to Keep Treats Fresh
Since these treats are made with fresh, natural ingredients, they won’t last as long as commercial treats with preservatives. But with proper storage, you can extend their freshness!
✔️ Refrigerator: Store in an airtight container for up to 1 week.
✔️ Freezer: Freeze in a sealed container or ziplock bag for up to 3 months.
🐾 Pro Tip: If freezing, thaw treats in the fridge overnight before serving.
Troubleshooting Picky Eaters
Is your cat turning up their nose at the treats? Don’t worry! Here are some things to try:
🐾 Experiment with Texture – Some cats prefer soft treats, while others like crunchier bites. Try baking a few longer for added crispiness.
🐾 Add a Sprinkle of Catnip – A light dusting of catnip on top of the treats can make them more enticing.
🐾 Try Hand-Feeding – Offering a piece directly from your fingers can encourage your cat to take that first nibble.
Why Make Homemade Cat Treats?
Making treats at home isn’t just about giving your cat something tasty—it’s about giving them the healthiest option possible. When you make treats yourself, you:
✔️ Control the Ingredients – No weird additives or preservatives.
✔️ Support Your Cat’s Health – Natural ingredients provide real nutritional benefits.
✔️ Show Your Love – Nothing says “I love you” like a treat made just for them!
Sweet Purrfections: Your Go-To for DIY Pet Care & Healthy Cat Recipes
If you loved making these homemade cat treats, there’s so much more waiting for you! At Sweet Purrfections, we’re passionate about helping pet parents create a happier, healthier life for their cats and dogs.
🐾 From homemade recipes to DIY pet care tips, we’ve got you covered!
📌 Don’t forget to pin this recipe on Pinterest so you can make it again later (bottom righ to share)!
Looking for more homemade cat treat ideas? Stay tuned for more easy and healthy recipes coming soon! 😻